Introduction
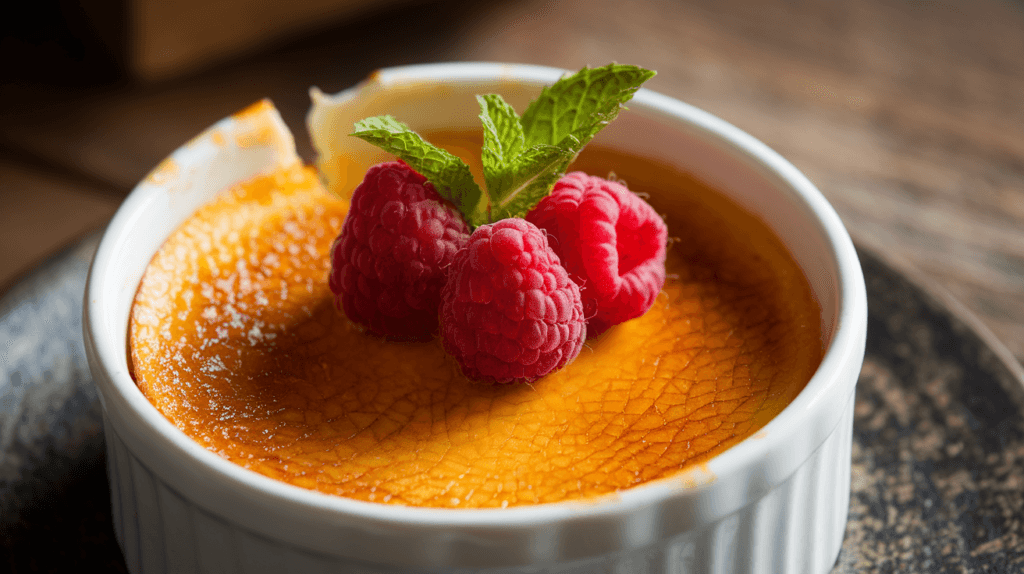
Crème brûlée is a classic French dessert known for its creamy custard base and crisp caramelized sugar topping. Translating to “burnt cream,” it’s a delicacy cherished worldwide for its contrasting textures and rich flavors. This guide will teach you how to make the best crème brûlée recipe with milk, a lighter alternative that doesn’t compromise on taste. This post will guide you through the best crème brûlée recipe with milk offering a lighter twist on the traditional recipe without sacrificing taste or texture.
Why Use Milk in Crème Brûlée?
Using milk in crème brûlée not only reduces the overall fat content but also creates a silkier custard that melts in your mouth. This variation is ideal for those seeking a slightly healthier option or for those who may not have cream readily available.
In the following sections, we’ll dive deep into the process, providing tips, tricks, and insights to make the perfect crème brûlée with milk. From selecting the right ingredients to achieving that iconic caramelized top, you’ll find everything you need right here.
Ingredients and Equipment for the Best Crème Brûlée Recipe with Milk

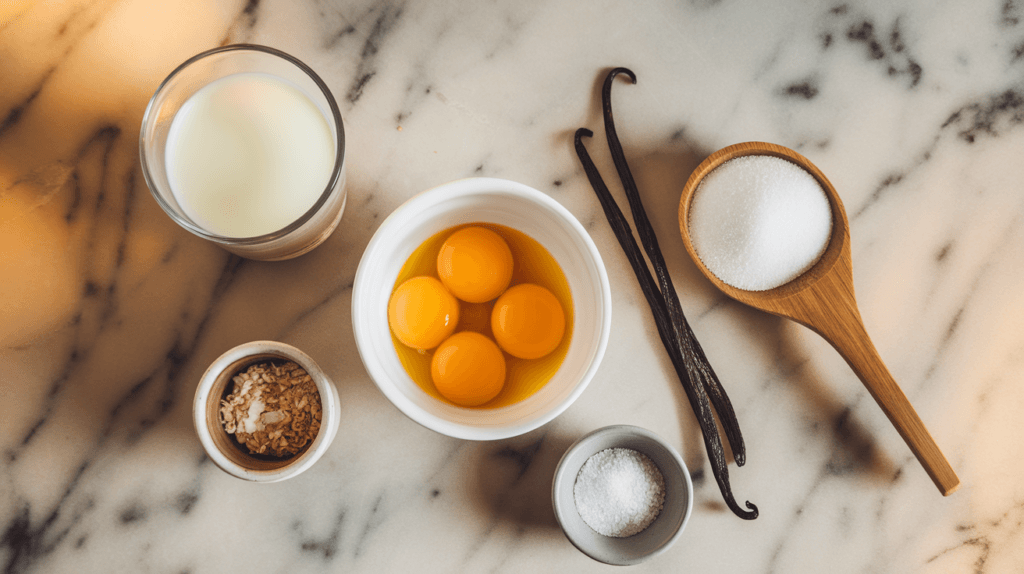
Creating the perfect dessert starts with assembling everything you need for the best crème brûlée recipe with milk. Here’s a breakdown of what you’ll need:
Ingredients
This recipe serves four and can be scaled up or down as needed.
- Whole Milk – 2 cups (480 ml)
- Whole milk provides a creamy texture without the heaviness of cream.
- Egg Yolks – 4 large
- Essential for creating a rich custard base.
- Granulated Sugar – ½ cup (100 g)
- Divided into two portions: one for the custard and one for caramelizing.
- Vanilla Extract – 1 tsp
- Adds depth of flavor. For a more luxurious touch, use the seeds from one vanilla bean.
- Salt – A pinch
- Enhances the sweetness and balances the flavors.
Optional Ingredients for Variations
- Citrus Zest (like orange or lemon)
- Coffee or Cocoa Powder for a mocha twist.
Equipment
- Mixing Bowls
- For whisking the egg yolks and sugar.
- Whisk
- Ensures smooth incorporation of the ingredients.
- Saucepan
- To gently warm the milk.
- Fine-Mesh Strainer
- Strains the custard to remove any egg solids for a smooth finish.
- Ramekins (4 oz size, 4 pieces)
- Individual ceramic dishes perfect for baking and serving.
- Baking Dish
- A large dish to hold the ramekins for water bath baking.
- Torch or Broiler
- For caramelizing the sugar topping.
- Measuring Cups and Spoons
- To ensure accurate measurements.
Why These Tools Matter
Using the proper tools ensures consistent results. For instance:
- A whisk prevents over-mixing, which can incorporate too much air.
- A water bath (bain-marie) provides gentle, even heat to the custard.
- A kitchen torch allows precise control over caramelizing the sugar without heating the custard.
The Science of Crème Brûlée
Understanding the science behind crème brûlée is crucial for creating a perfectly smooth custard and that irresistible caramelized top. Here, we’ll dive into the role of each ingredient and the techniques that bring them together.
The Role of Milk in Custard Formation
Milk is the primary liquid component in this recipe, providing moisture and creaminess. It interacts with the proteins in egg yolks to form a stable yet delicate custard. Whole milk is ideal because it has enough fat to lend richness without making the texture overly heavy.
- Fat Content: The fat in milk helps create a silky texture, while the proteins contribute structure during baking.
- Heating Milk Gently: Gradually warming the milk before combining it with the eggs prevents curdling and ensures smooth incorporation.
The Magic of Egg Yolks
Egg yolks are the star ingredient in crème brûlée, acting as a natural thickener. When gently cooked, the proteins in the yolks coagulate, forming a soft, custard-like texture.
- Avoiding Overcooking: Overheating eggs can lead to curdling, resulting in a scrambled texture instead of smooth custard.
- Tempering the Eggs: Slowly adding warm milk to the egg yolks prevents sudden temperature changes, which could cook the yolks too quickly.
Sugar: Sweetness and Structure
Sugar serves two purposes in crème brûlée:
- Sweetening the Custard: Balances the richness of the yolks and milk.
- Caramelizing: Creates the signature brittle crust when torched.
- Fine Sugar for Custard: Dissolves quickly and blends evenly.
- Granulated Sugar for Caramelizing: Coarser sugar granules caramelize more uniformly under heat.
The Role of the Water Bath
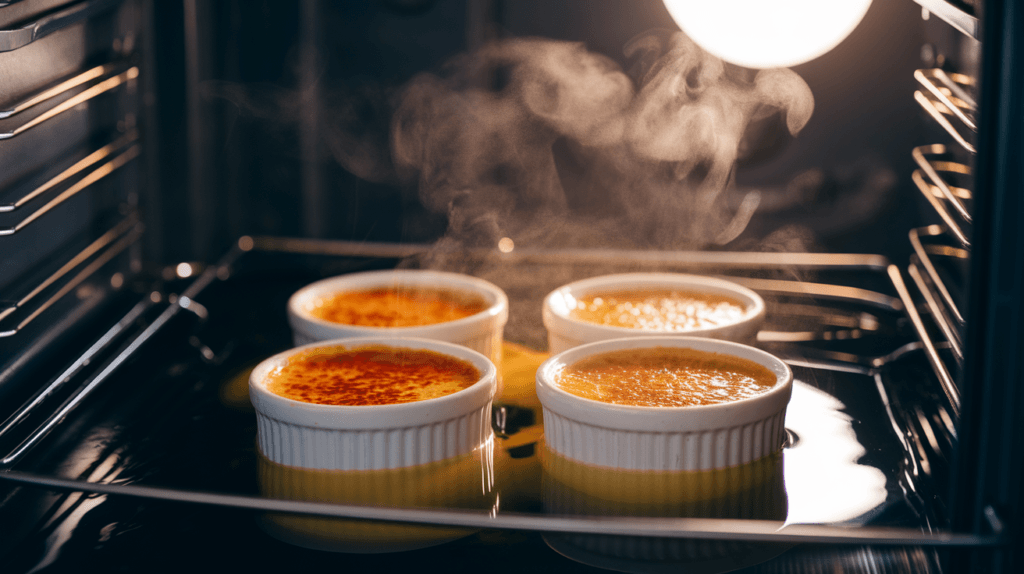
Baking the custard in a water bath ensures gentle, even cooking. The water insulates the ramekins, preventing the custard from baking too quickly or unevenly.
- How to Prepare a Water Bath: Place the filled ramekins in a baking dish and pour hot water around them until it reaches halfway up the sides of the ramekins.
- Why It Works: The water maintains a consistent temperature and prevents direct exposure to oven heat, which could cause cracks or curdling.
Creating the Caramelized Top
The crispy caramelized sugar crust is a hallmark of crème brûlée, offering a delightful contrast to the smooth custard beneath. This is achieved by sprinkling sugar on the custard’s surface and applying intense heat to melt and caramelize it.
- Using a Torch: Provides precision and control, caramelizing the sugar without reheating the custard.
- Broiler Method: An alternative for those without a torch, though it requires close monitoring to avoid overcooking.
Step-by-Step Guide to Making the Best Crème Brûlée with Milk

Following these steps will help you master the best crème brûlée recipe with milk, ensuring a silky custard and a professional caramelized sugar crust.
Step 1: Prepare the Ingredients
Before starting, ensure all your ingredients are measured and tools are ready:
- Separate the egg yolks.
- Measure the milk, sugar, and vanilla extract.
Pro Tip: Allow the milk and eggs to come to room temperature for better blending.
Step 2: Warm the Milk
- Pour the milk into a saucepan.
- Heat it over medium-low heat, stirring occasionally, until it’s warm but not boiling (about 120°F to 140°F or warm to the touch).
Why It Matters: Warming the milk ensures it blends smoothly with the egg yolks and sugar, preventing curdling.
Step 3: Whisk the Egg Yolks and Sugar
- In a mixing bowl, combine the egg yolks and half the sugar.
- Whisk until the mixture becomes pale and slightly thick (about 1-2 minutes).
Pro Tip: Whisk gently to avoid incorporating too much air, which can create bubbles in the custard.
Step 4: Temper the Eggs
- Slowly pour the warm milk into the egg mixture while continuously whisking.
- Add the milk in small increments at first to prevent cooking the yolks.
- Once fully combined, stir in the vanilla extract and a pinch of salt.
Why Tempering is Crucial: Gradual mixing prevents the eggs from scrambling, ensuring a smooth and uniform custard.
Step 5: Strain the Custard
- Pass the mixture through a fine-mesh strainer into a clean bowl or pitcher.
- This removes any small egg solids or air bubbles for a silky texture.
Step 6: Fill the Ramekins
- Place the ramekins in a large baking dish.
- Evenly distribute the custard mixture into the ramekins, filling each about three-quarters full.
Pro Tip: Use a pitcher or ladle for precise pouring to avoid spills.
Step 7: Prepare the Water Bath
- Pour hot water (not boiling) into the baking dish until it reaches halfway up the sides of the ramekins.
- Carefully place the dish in a preheated oven at 325°F (160°C).
Why a Water Bath is Important: It ensures even, gentle cooking, preventing the custard from cracking or curdling.
Step 8: Bake the Custard
- Bake for 35–40 minutes or until the edges are set, but the centers are still slightly jiggly.
- Remove the ramekins from the water bath and let them cool to room temperature.
Pro Tip: Overbaking leads to a rubbery texture, so keep a close eye during the final minutes.
Step 9: Chill the Custard
- Cover the ramekins with plastic wrap and refrigerate for at least 4 hours, preferably overnight.
- Chilling helps the custard fully set and develop its flavor.
Step 10: Caramelize the Sugar
- Before serving, sprinkle a thin, even layer of granulated sugar over the surface of each custard.
- Use a kitchen torch to melt and caramelize the sugar until it forms a golden, crisp crust.
- Alternatively, place the ramekins under a broiler for 1–2 minutes, keeping a close eye to avoid burning.
Pro Tip: Allow the caramelized sugar to cool for 1–2 minutes to harden before serving.
Techniques for the Perfect Top
The caramelized sugar topping is the defining feature of crème brûlée, providing a satisfying crack as you break into the custard. Achieving a professional finish requires careful attention to detail. Here’s how to perfect the signature brûlée topping.
Step 1: Choose the Right Sugar
Not all sugar works equally well for caramelizing:
- Granulated Sugar: The most common choice for a smooth, even caramel crust.
- Turbinado Sugar: Adds a slightly more complex, molasses-like flavor and crunch, but takes longer to caramelize.
Pro Tip: Avoid powdered sugar, as it burns too quickly and doesn’t form a proper crust.
Step 2: Evenly Spread the Sugar
- After chilling the custard, lightly blot the surface with a paper towel to remove moisture.
- Excess moisture can prevent proper caramelization.
- Sprinkle a thin, even layer of sugar (about 1–2 teaspoons) over the top of each custard.
- Gently tilt and rotate the ramekin to distribute the sugar evenly.
Why It’s Important: Uneven sugar layers can lead to inconsistent caramelization, with some areas burning while others remain un-melted.
Step 3: Caramelize the Sugar
There are two main methods for achieving the brûlée top:
Using a Kitchen Torch
- Hold the torch about 2–3 inches from the surface of the sugar.
- Move the flame in small circular motions to gradually melt the sugar.
- Focus on one area at a time, but don’t linger too long to avoid burning.
- Continue until the entire surface is evenly caramelized and golden brown.
Advantages of a Torch:
- Greater control over caramelization.
- Prevents reheating the custard.
Using a Broiler
- Preheat your oven’s broiler on high.
- Place the ramekins on a baking sheet and position them under the broiler.
- Keep them about 4–6 inches from the heat source.
- Watch closely and rotate the ramekins as needed to ensure even caramelization.
- This process should take 1–2 minutes.
Drawbacks of a Broiler:
- Heat can warm the custard, compromising its texture.
- Less precise than a torch, requiring constant attention.
Step 4: Let the Crust Harden
Allow the caramelized sugar to cool for 1–2 minutes. As it hardens, it forms the classic brittle crust that contrasts beautifully with the creamy custard beneath.
Advanced Techniques for a Professional Finish
- Double Layering Sugar: For an extra-thick crust, caramelize one thin layer of sugar, let it cool, and then add another layer to repeat the process.
- Flavored Sugar: Infuse the sugar with citrus zest or ground spices (e.g., cinnamon) for a subtle twist.
- Torch Patterns: Use a stencil to create decorative shapes or patterns on the sugar surface.
Serving and Presentation Tips
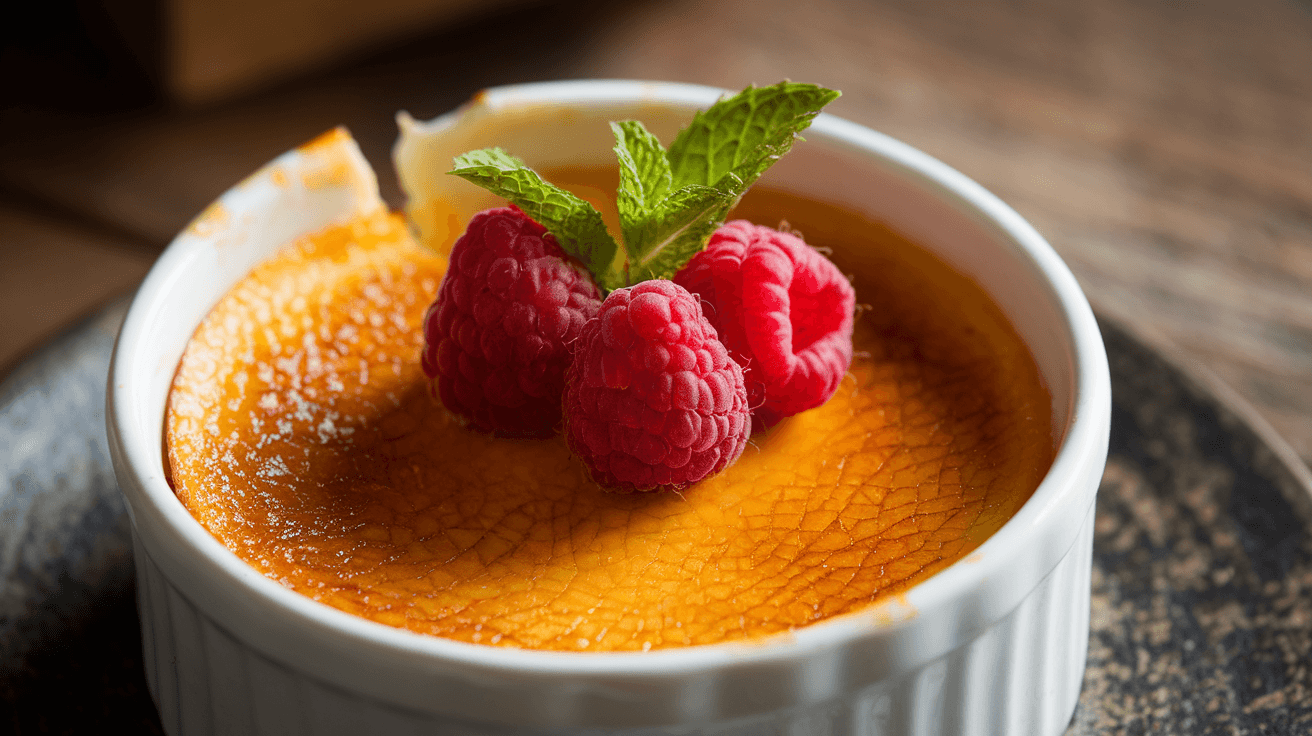
Crème brûlée is as much about visual appeal as it is about taste. Serving the best crème brûlée recipe with milk ensures you impress your guests with a dessert that’s both delicious and elegant. Presenting your dessert with creativity and elegance enhances the experience for your guests. Here are some serving tips and ideas to ensure your crème brûlée steals the show.
Classic Presentation
- Serve in the Ramekin:
- The traditional way to serve crème brûlée is in the ramekin it was baked in.
- Use ramekins with a wide, shallow surface area to maximize the caramelized sugar topping.
- Add a Finishing Touch:
- Dust a light sprinkle of powdered sugar around the edges of the ramekin for added elegance.
Creative Garnishes
Elevate your crème brûlée by adding these decorative touches:
- Fresh Fruit:
- Add a small cluster of berries (e.g., raspberries, blueberries, or strawberries) on one side of the ramekin.
- The tartness of the fruit complements the creamy sweetness of the custard.
- Edible Flowers:
- Decorate with edible flowers such as pansies or violets for a sophisticated touch.
- Mint Leaves:
- Place a sprig of fresh mint on top for a pop of green and a refreshing aroma.
- Chocolate Shavings:
- Sprinkle a few shavings of dark or white chocolate over the caramelized sugar for added decadence.
Pairing Suggestions
Crème brûlée pairs wonderfully with certain beverages and sides:
- Beverages:
- Serve with a glass of dessert wine, such as Sauternes or Moscato.
- For a non-alcoholic option, pair with a robust coffee or espresso.
- Sides:
- Offer small shortbread cookies or almond biscotti as a crunchy accompaniment.
Serving Temperature
- Chilled Custard with a Warm Crust:
- Ideally, the custard should be served cold, with the caramelized crust freshly torched and slightly warm. This contrast adds to the sensory experience.
- Prepare Ahead:
- You can prepare the custard a day in advance, but caramelize the sugar just before serving to maintain the crispness.
Presentation for Special Occasions
- Layered Ramekins:
- Use transparent glass ramekins to show off the smooth custard layers.
- Themed Plates:
- Place the ramekin on a decorative plate with accents that match your event’s theme, such as holiday colors or floral patterns.
- Plating with Sauces:
- Drizzle raspberry or chocolate sauce on the plate around the ramekin for an artistic touch.
Variations and Toppings
- Coconut Crème Brûlée:
- Substitute part of the milk with coconut milk and top with toasted coconut flakes.
- Spiced Crème Brûlée:
- Infuse the custard with warm spices like cinnamon, cardamom, or nutmeg for a seasonal twist.
- Nut Toppings:
- Sprinkle crushed pistachios, almonds, or hazelnuts over the caramelized sugar.
Final Words
Your crème brûlée is now a masterpiece! By following these serving and presentation tips, you’ll create a dessert that not only tastes incredible but also dazzles the eye.
FAQs
Can I Use Milk Instead of Cream for Crème Brûlée?
Yes, milk can be used instead of cream to make crème brûlée! It creates a lighter version while maintaining a creamy texture. For the best crème brûlée recipe with milk, whole milk is ideal as it provides the perfect balance of richness and consistency. This option is great for those seeking a healthier alternative or when cream isn’t readily available.
What Is the Secret to Crème Brûlée?
The secret to a perfect crème brûlée lies in achieving a smooth, silky custard base and a crisp caramelized sugar topping. Key steps include:
- Tempering the eggs carefully to prevent curdling.
- Using a water bath for even baking.
- Torch-caramelizing the sugar just before serving for a professional finish.
How Much Milk Is in Crème Brûlée?
For a milk-based crème brûlée, the standard amount is 2 cups (480 ml) of whole milk. This quantity ensures the custard sets perfectly without being too runny or overly dense. Using whole milk also provides the ideal creaminess while keeping the dessert lighter than the traditional cream version.
Conclusion
This guide to best crème brûlée recipe with milk is your perfect way to enjoy a classic dessert with a lighter twist. From mastering the custard to perfecting the caramelized topping, this recipe offers everything you need to create an unforgettable treat. With a little patience and creativity, your crème brûlée will be the highlight of any meal.
Bon appétit! 🍮

